
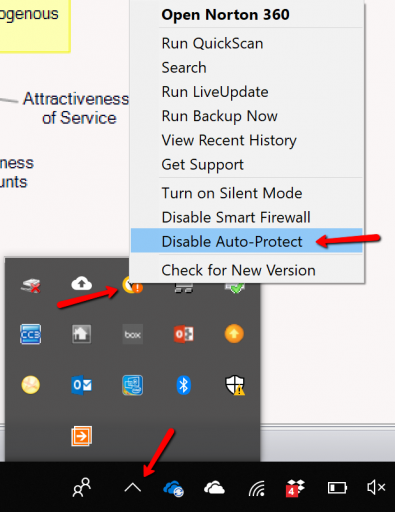
If you run into an issue with installing Ventity because it is blocked by the Auto-Protect feature of your anti-virus software, you can temorarily disable the Auto-Protect to install Ventity. To do this, simply navigate to your taskbar, right-click on the icon for your anti-virus software (in the example shown below, Norton 360), and select the option to “Disable Auto-Protect”.
This will open a new screen where you can select the duration. Ventity shouldn’t take more than a few minutes at most to install, so use your own best judgement, and keep in mind you can, at any time once the installation is completed, re-enable the Auto-Protect feature of your anti-virus software through the same menu options.
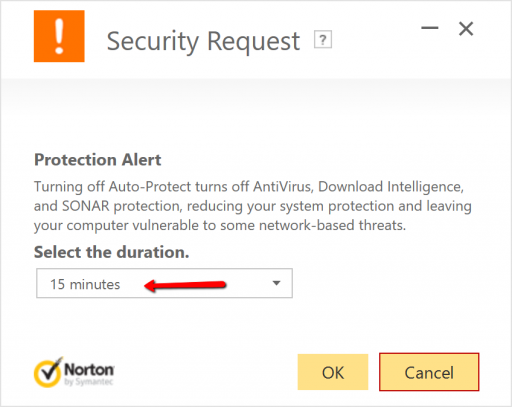
Once your Auto-Protect has been disabled, Ventity should install without issue.
We apologize for any inconvenience this creates and are working hard on a fix for this issue!